# Send Syslog Data to Graylog
This article explains how to set up Fluentd with [Graylog](https://www.graylog.org). Graylog is a popular log management server powered by Elasticsearch and MongoDB. You can combine Fluentd and Graylog to create a scalable log analytics pipeline.
## Prerequisites
* Basic Understanding of Fluentd
* Linux Server (Ubuntu 26.04 LTS is not supported yet. Use 22.04 or 24.04)
* [Fluentd](https://www.fluentd.org/)
* [MongoDB Community Server](https://www.mongodb.com/try/download/community), Use 8.0.
* [Graylog](https://graylog.org/), Use 7.1.
You can install Fluentd via major packaging systems.
* [Installation](../installation/)
You can install MongoDB via major packaging systems.
* [MongoDB Community Server](https://www.mongodb.com/try/download/community)
You can install Graylog Data Node and Server on Ubuntu.
* [Ubuntu Installation](https://go2docs.graylog.org/current/downloading_and_installing_graylog/ubuntu_installation.htm)
### Prepare Graylog for Fluentd
Go to [http://localhost:9000](http://localhost:9000) and log into the web interface.
To log in, use `admin` as the username and `YOUR_PASSWORD` as the password \(the one you have set up for `root_password_sha2`\).
Once logged in, click on `System` in the top nav. Next, click on `Inputs` from the left navigation bar. \(Or, simply go to [http://localhost:9000/system/inputs](http://localhost:9000/system/inputs).
Then, from the dropdown, choose `GELF UDP` and click on `Launch new input`, which should pop up a modal dialogue, Select the `Node` and fill the `Title`. Then, click `Save`.
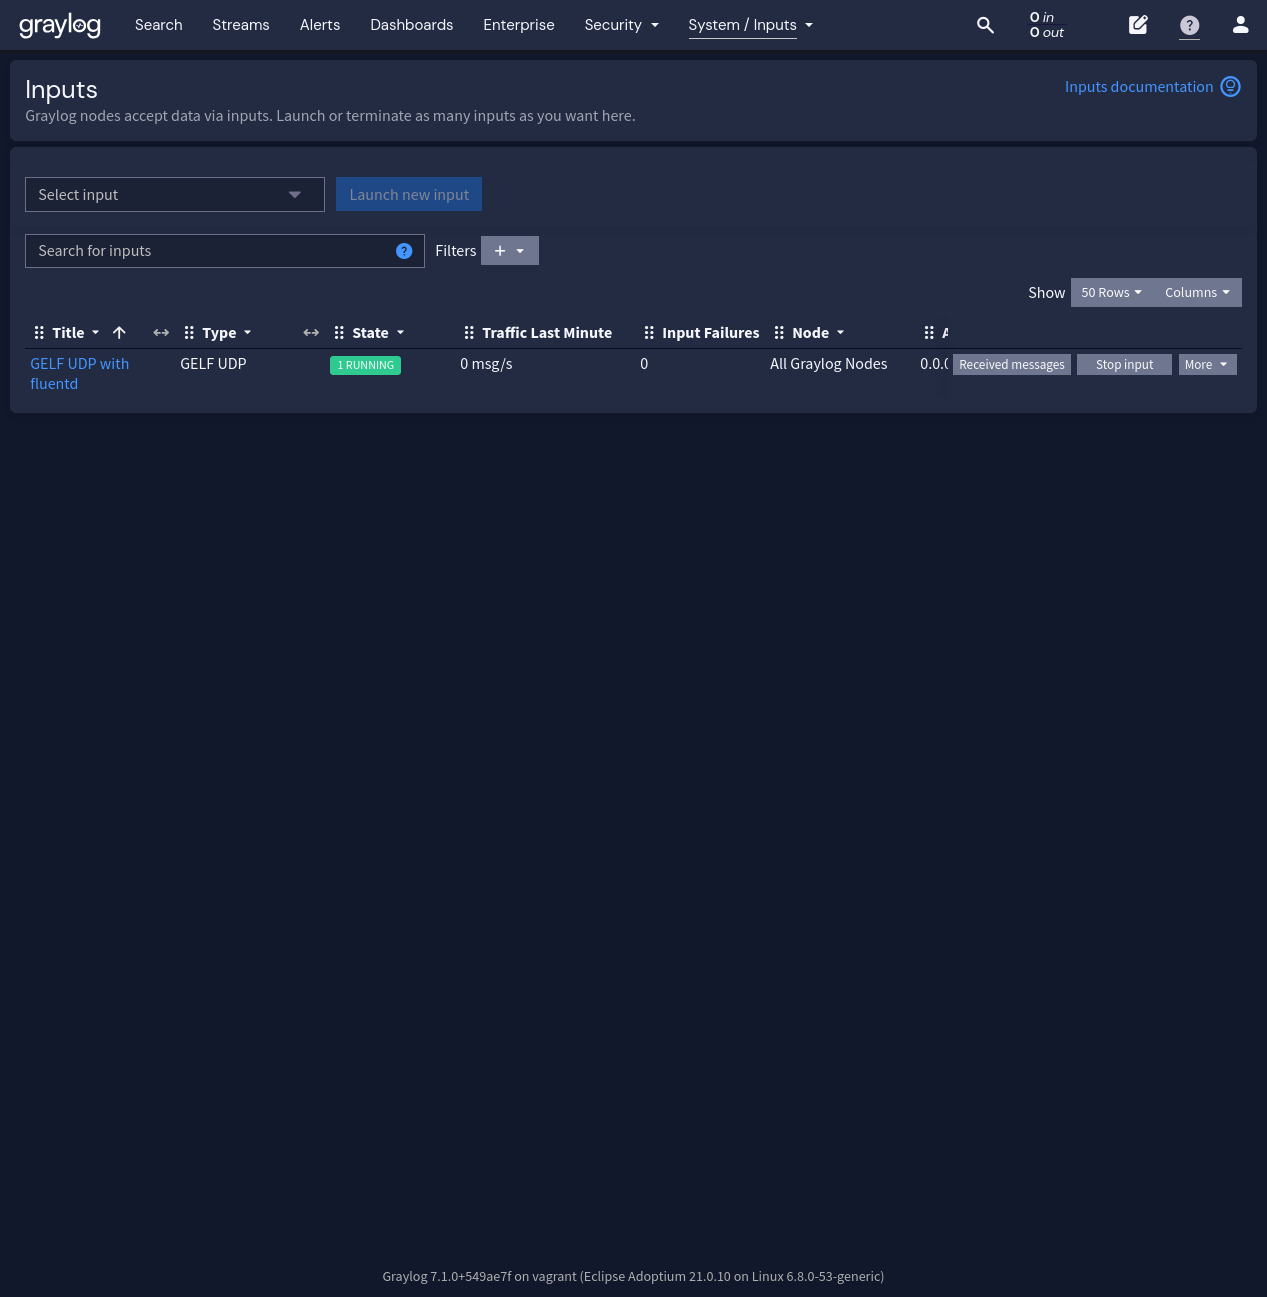
Now, Graylog is ready to accept messages from Fluentd over UDP. It is time to configure Fluentd.
{% hint style='info' %}
There might be a case that modal dialogue will not be shown when clicking `Launch new input`. Check your browser configuration.
{% endhint %}
### Fluentd
You can install Fluentd via major packaging systems.
* [Installation](../installation/)
#### Install MongoDB Plugin
If `out_gelf` (fluent-plugin-gelf-hs) is not installed yet, please install it manually.
See [Plugin Management](../installation/post-installation-guide.md#plugin-management) section for how to install fluent-plugin-gelf-hs on your environment.
Then, configure `/etc/fluent/fluentd.conf` as follows:
```text
@type syslog
tag graylog
@type gelf
host 127.0.0.1
port 12201
flush_interval 5s
```
Create `/etc/rsyslog.d/90-fluentd.conf` and add the following line to the file:
```text
*.* @127.0.0.1:5140
```
Finally, restart `rsyslog` and Fluentd with the following commands:
```text
$ sudo systemctl restart rsyslog
$ sudo systemctl restart fluentd
```
## Visualize the Data Stream
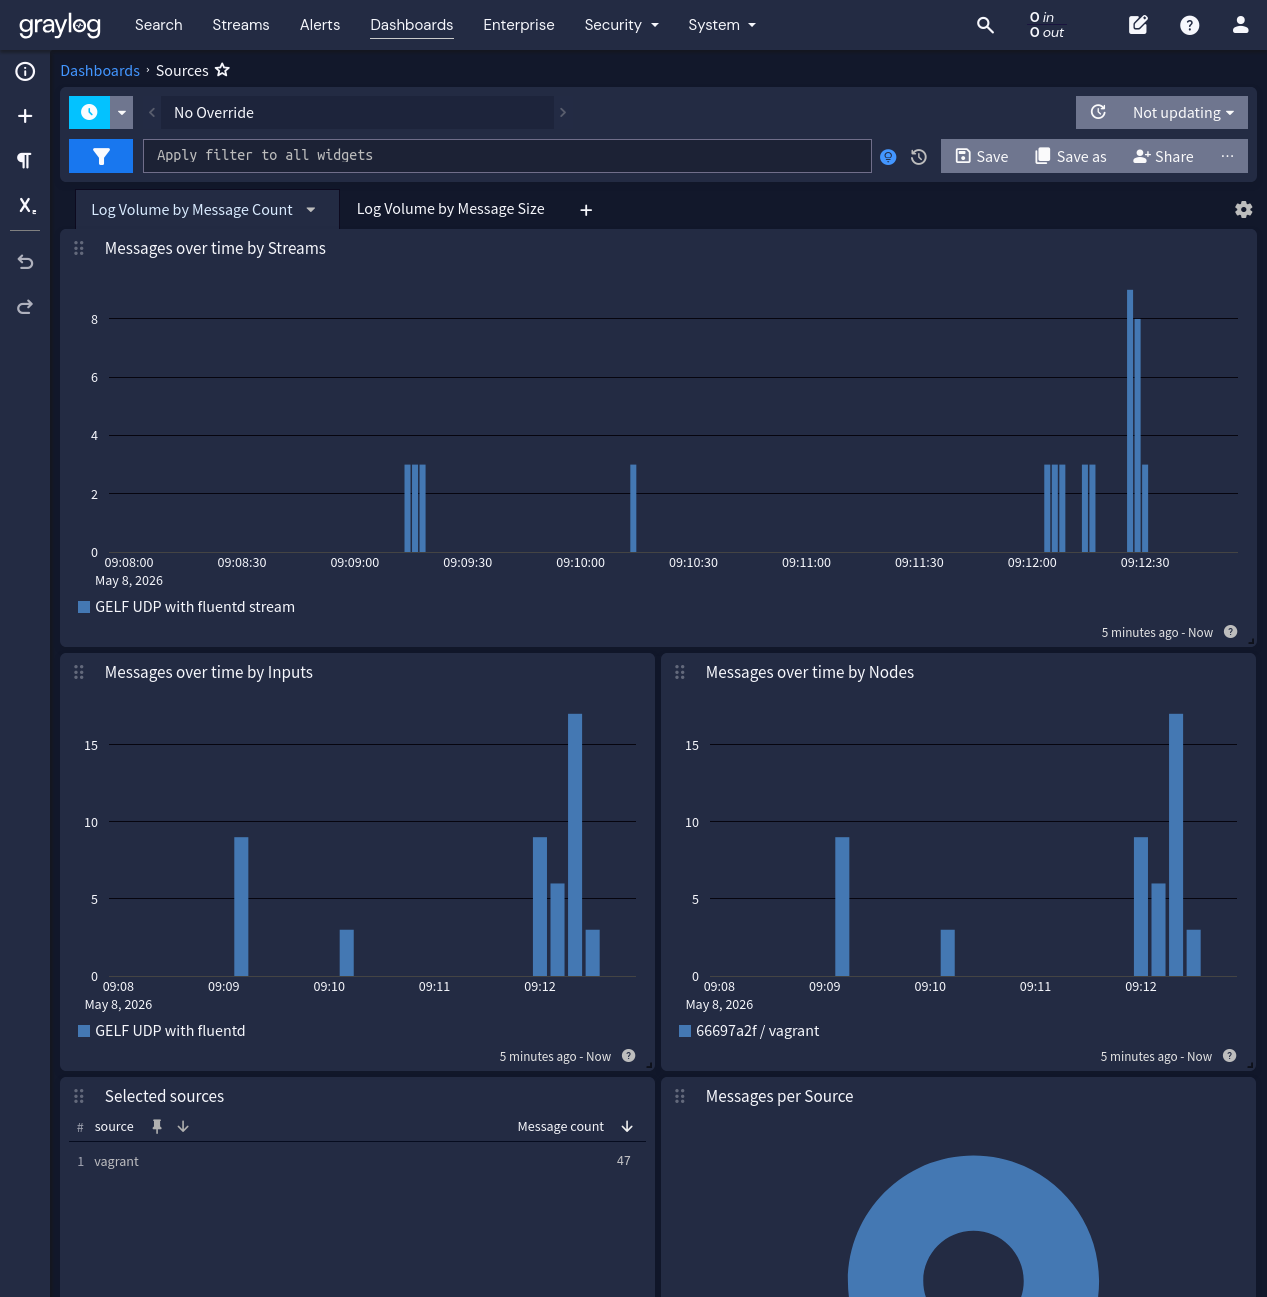
When you log back into Graylog, you should be seeing a graph like this \(wait for events to flow in\):